


Simple Docker container orchestration with Docker Compose
Simple Docker container orchestration with Docker Compose
Docker-Compose is a rather simple tool for container orchestration. If you need to handle multiple containers on a single machine, Docker-Compose is the tool for you.

Container orchestration
Container orchestration is the term used, when we are talking about controlling for example Docker containers in a more organized manner. The basic use of Docker happens with Docker’s own commands, such as:
docker run mynginxYou can read more about this from my previous Containers - The basics post:

Controlling all containers one-by-one with Docker’s own commands gets tedious quite fast. Especially when you usually have more than one container to control. When you run containers you need to define the volumes they use, the ports they publish to the outside world, the environment variables, and so on. You can do all that with Docker run command, but you really shouldn’t do that. Why? Because there’s an easier way.
Docker Compose

That easier way is Docker Compose. With Compose, you can define all the parameters of your containers in a single file. Yes, containers, in plural. By default the name of the file is docker-compose.yml.
Below is an example of one docker-compose.yml.
version: '3.1'

services:
  mypostgres:
    image: postgres
    environment:
      POSTGRES_PASSWORD: postgres
    ports:
      - 5432:5432

  mypgadmin:
    image: dpage/pgadmin4
    environment:
      PGADMIN_DEFAULT_EMAIL: postgres@postgres.com
      PGADMIN_DEFAULT_PASSWORD: postgres
    ports:
      - 8085:80
This docker-compose.yml defines two containers to be started: postgres and pgadmin4. Postgres or PostgreSQL is obviously a SQL database system, and PGAdmin4 is a administrative tool for the database. This is a good example of the power of Docker Compose, because you probably want to have both the actual database and its admin tool running each time you want to run a database.
To run this configuration, open up your favourite terminal or command line and enter the following command.
docker compose upIf your local Docker does not have the required images yet, you will first see that Docker pulls the images from the Docker Hub (the place where a lot of the ready made images live).
Once the images have been pulled (or if you had them already), you will see colour coded output appear. The following is an excerpt from the output (without the colour coding).
compose-mypostgres-1  | The files belonging to this database system will be owned by user "postgres".
compose-mypostgres-1  | This user must also own the server process.
...
compose-mypgadmin-1   | NOTE: Configuring authentication for SERVER mode.
compose-mypgadmin-1   |
compose-mypgadmin-1   | pgAdmin 4 - Application Initialisation
As seen in the excerpt, both PostgreSQL and PGAdmin4 started to produce output in the same terminal. The colours of course indicate which container outputted that row. The name of the container is also at the beginning of the row. The name is created from the name of the directory that contains the docker-compose.yml (here compose), the name of the service given in the same file (here mypostgres and mypgadmin), and a index number (here 1 on both containers). Hence the names compose-mypostgres-1 and compose-mypgadmin-1. To stop all the containers you just started press Ctrl+C.
As with docker run command, it is possible to start the containers in detached mode, so your terminal will be free for other stuff, and the containers run in the background. This can be done by running the command with -d parameter.
docker compose up -dNow the containers will run in the background. To stop them, run:
docker compose downWhen the containers are running, you can navigate to localhost:8085 with your browser. PGAdmin4 login page will be displayed. To login, use the credentials given in the docker-compose.yml file:
Email address:
postgres@postgres.comPassword:
postgres
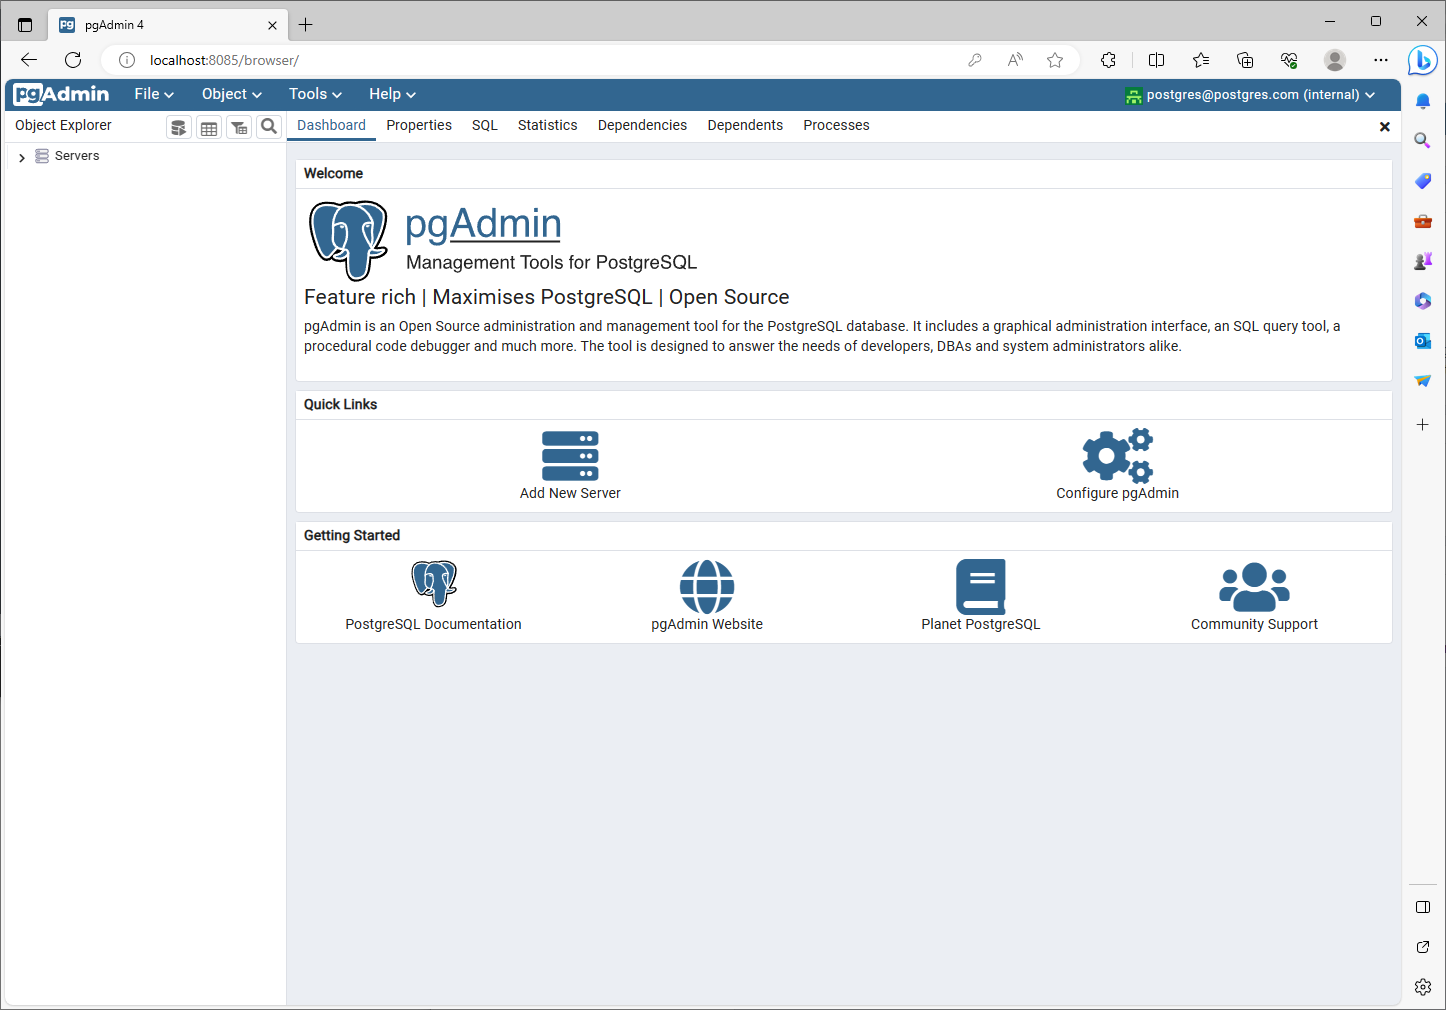
Once logged in, you will see a page like this.
But how to connect to the database? That (and more about Docker Compose) you’ll learn in the next part of the series.